
Introduction
When building modern applications, APIs are almost always part of the equation. They act as the backbone, enabling different parts of your application to communicate seamlessly. But why are APIs so important? Let’s break it down.
Imagine you’re building a web application using a framework like Laravel or Django. You have models that interact with your database, controllers that handle the logic, and views that render the user interface. As your app grows, so does the complexity of your codebase. Now, what if you decide to build a mobile app or a desktop version? You’d have to create separate codebases for each platform, leading to duplication and maintenance headaches.
This is where APIs come in. By building an API-first application, you create a centralized backend that handles data and logic. Your frontend—whether it’s a web app, mobile app, or even an IoT device—simply makes requests to this API. No more duplicating code. Everything connects to the same backend, making your life much easier.
In this post, we’ll explore how to build an API using FastAPI, a modern Python framework that’s fast, easy to use, and packed with features. We’ll walk through creating a simple to-do app, and along the way, I’ll highlight why FastAPI is a great choice for your next project.
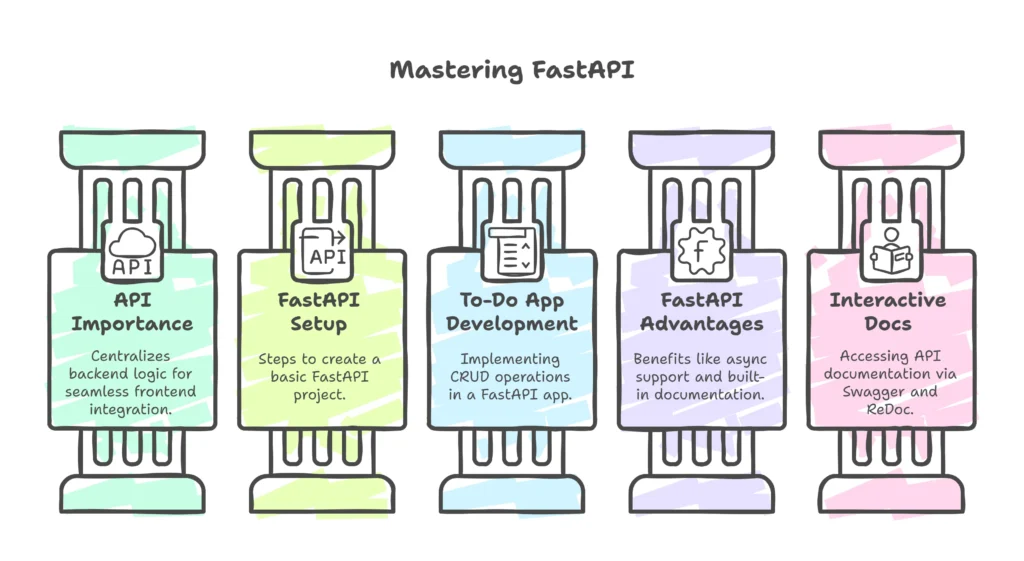
Table of Contents
Introduction
- Why APIs are essential in modern applications.
- The problem with monolithic applications and how APIs solve it.
- Introduction to FastAPI and its advantages.
Setting Up the Project
- Creating a Python project and virtual environment.
- Installing FastAPI and Uvicorn.
- Running the first basic route.
Building a Simple To-Do App
- Structuring routes for CRUD operations.
- Implementing GET, POST, DELETE, and UPDATE endpoints.
- Using data validation with Pydantic models.
Key Advantages of FastAPI
- Plain Python syntax.
- Built-in async support.
- Data validation with Pydantic.
- Typed Python for better code clarity.
- JSON error responses.
- Built-in authentication methods.
- Swagger and ReDoc for API documentation.
Conclusion
- Recap of the project and FastAPI’s benefits.
- Encouragement to explore FastAPI further.
FAQs about FastAPI and the project.
Setting Up the Project
Before diving into the code, let’s set up our project. First, create a new directory for your project and navigate into it:
mkdir fastapi-project
cd fastapi-project
Next, create a virtual environment to keep your dependencies isolated:
python -m venv venvActivate the virtual environment:
source venv/bin/activateNow, let’s install FastAPI and Uvicorn, a lightning-fast ASGI server for running our API:
pip install fastapi uvicornWith the setup out of the way, let’s create our first route. Create a file called main.py and add the following code:
from fastapi import FastAPI

app = FastAPI()

@app.get("/")
def root():
    return {"message": "Hello, World!"}
Here’s what’s happening:
- We import the
FastAPIclass and create an instance of it calledapp. - We define a route using the
@app.get("/")decorator. This route handles GET requests to the root URL (/). - The
rootfunction returns a JSON response with a simple message.
To run the server, use the following command:
uvicorn main:app --reloadOpen your browser or Postman and navigate to http://127.0.0.1:8000/. You should see the message {"message": "Hello, World!"}.
Building a Simple To-Do App
Now that we have a basic API running, let’s build a simple to-do app. We’ll implement CRUD operations: Create, Read, Update, and Delete.
First, let’s define our data model. Create a file called models.py and add the following:
from pydantic import BaseModel

class Todo(BaseModel):
    id: int
    item: str
This Todo class defines the structure of our to-do items. Each to-do has an id (an integer) and an item (a string).
Next, let’s update main.py to include our to-do routes. We’ll start with a list to store our to-dos temporarily:
from fastapi import FastAPI
from models import Todo

app = FastAPI()

todos = []

# Get all to-dos
@app.get("/todos")
def get_todos():
    return todos

# Create a to-do
@app.post("/todos")
def create_todo(todo: Todo):
    todos.append(todo)
    return {"message": "Todo has been added"}

# Get a single to-do by ID
@app.get("/todos/{todo_id}")
def get_todo(todo_id: int):
    for todo in todos:
        if todo.id == todo_id:
            return todo
    return {"message": "No todos found"}

# Delete a to-do by ID
@app.delete("/todos/{todo_id}")
def delete_todo(todo_id: int):
    for todo in todos:
        if todo.id == todo_id:
            todos.remove(todo)
            return {"message": "Todo has been deleted"}
    return {"message": "Todo not found"}

# Update a to-do by ID
@app.put("/todos/{todo_id}")
def update_todo(todo_id: int, updated_todo: Todo):
    for todo in todos:
        if todo.id == todo_id:
            todo.id = updated_todo.id
            todo.item = updated_todo.item
            return todo
    return {"message": "Todo not found"}
Let’s break this down:
- Get all to-dos: The
/todosroute returns the entire list of to-dos. - Create a to-do: The
/todosroute (POST) adds a new to-do to the list. - Get a single to-do: The
/todos/{todo_id}route retrieves a specific to-do by its ID. - Delete a to-do: The
/todos/{todo_id}route (DELETE) removes a to-do from the list. - Update a to-do: The
/todos/{todo_id}route (PUT) updates an existing to-do.
Key Advantages of FastAPI
While building our to-do app, we’ve already seen some of FastAPI’s strengths. Let’s recap:
- Plain Python Syntax: FastAPI uses Python’s native syntax, making it easy to read and write.
- Built-in Async Support: FastAPI uses ASGI, allowing you to handle requests asynchronously.
- Data Validation with Pydantic: FastAPI leverages Pydantic to ensure your data is clean and well-structured.
- Typed Python: FastAPI encourages type hints, making your code more predictable and easier to debug.
- JSON Error Responses: Errors are returned in JSON format, making them easier to handle in frontend applications.
- Built-in Authentication: FastAPI supports various authentication methods out of the box.
- Swagger and ReDoc: FastAPI automatically generates interactive API documentation.
Conclusion
Building an API with FastAPI is not only straightforward but also enjoyable. Its modern features, like async support and built-in data validation, make it a strong contender for your next project. Whether you’re building a simple to-do app or a complex system, FastAPI has the tools to help you succeed.
If you’re ready to take your skills further, consider exploring FastAPI’s advanced features, like database integration and authentication. The official documentation is an excellent resource for diving deeper.
FAQs
Q: Can I use FastAPI with a database?
A: Absolutely! FastAPI works well with both SQL and NoSQL databases. Check out the documentation for examples.
Q: Is FastAPI suitable for large-scale applications?
A: Yes, FastAPI is designed to handle high-performance applications, making it a great choice for large-scale projects.
Q: How does FastAPI compare to Flask?
A: FastAPI is faster, supports async, and includes built-in features like data validation and authentication, which Flask lacks.
Q: Can I use FastAPI for frontend development?
A: FastAPI is a backend framework. For frontend development, you’d use tools like React or Vue.js, which can interact with your FastAPI backend.
I hope this guide has inspired you to start building with FastAPI. If you have any questions or want to share your projects, feel free to reach out. Happy coding!


